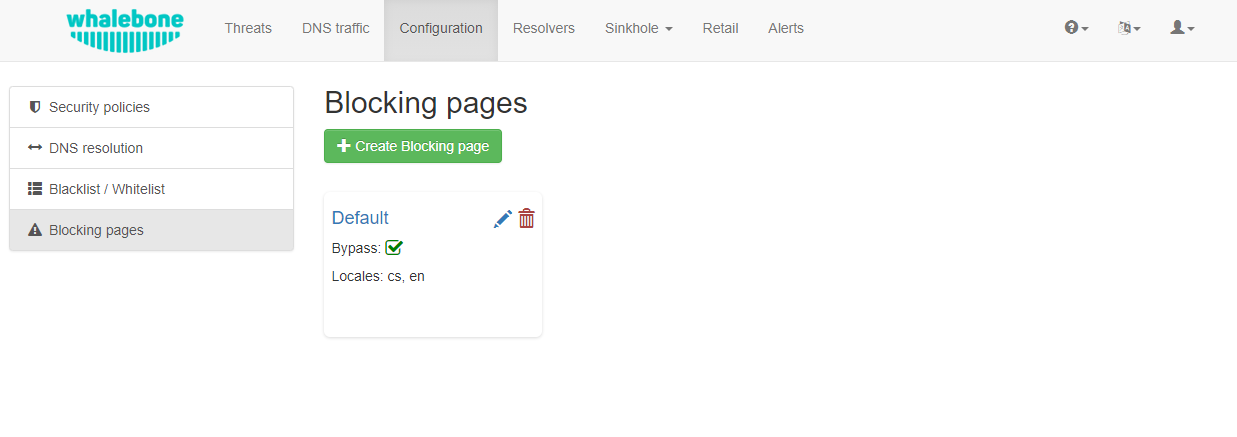
When access to a domain is blocked, the resolvers respond to clients with the IP address of a blocking page, where users are informed that they cannot access the given page and the reason why access was blocked. Whalebone provides a sample template for blocking pages, which can be fully customized. The template code is written to be compatible with the widest possible range of browsers.
Different versions of blocking pages can be assigned to different network segments under Resolvers → Policy Assignment.
Security: displayed when access is blocked due to security reasons
Blacklist: displayed when access is blocked by administrators
Legal: displayed when access is regulated based on law or court order
Content: displayed when access is blocked due to the domain’s content
Furthermore, each version can exist in different language mutations. The language of the blocking page is determined by the language of the browser accessing it.
The blocking page settings provide the following options:
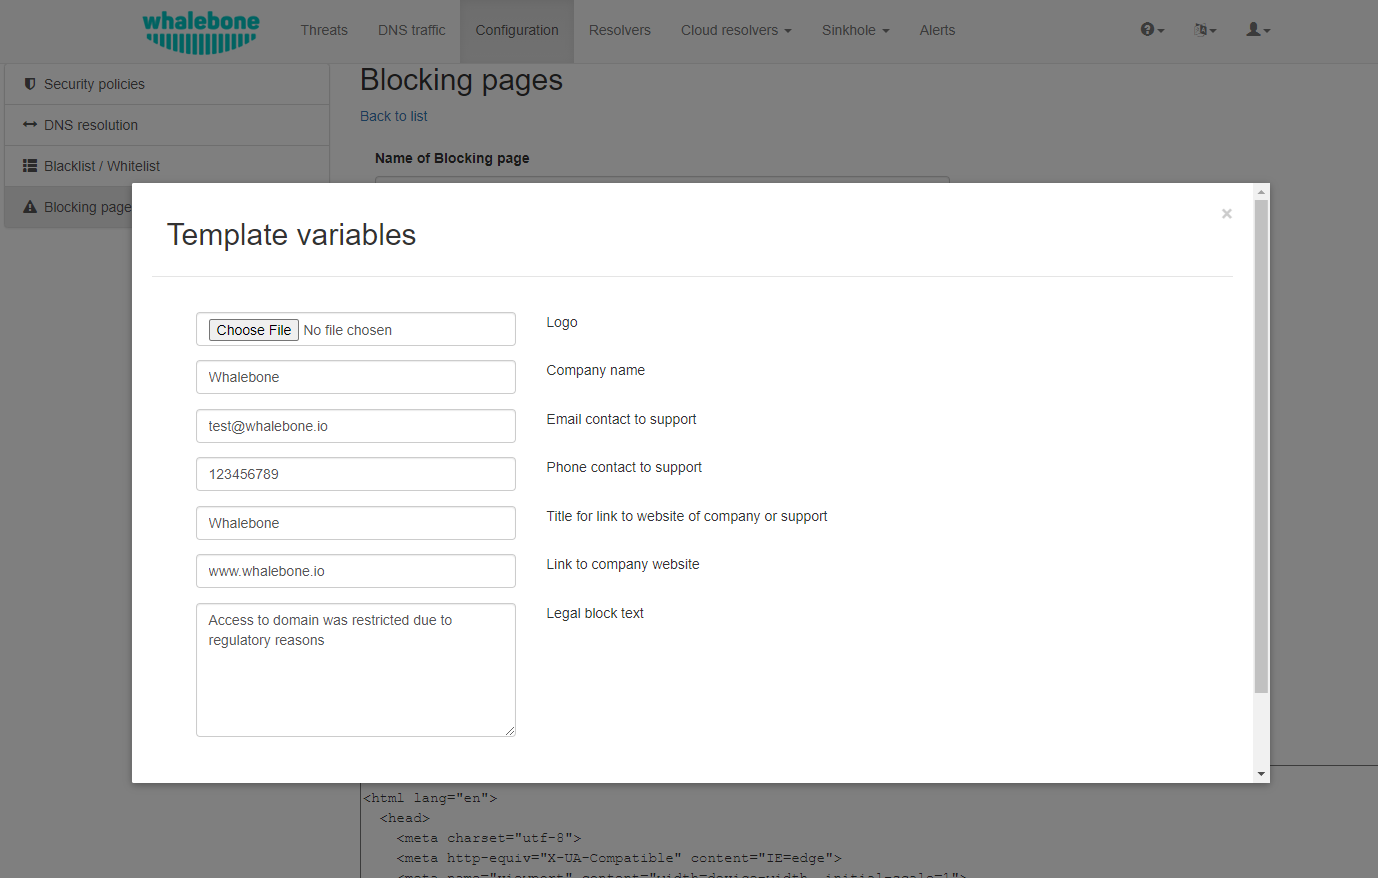
Using a template: When using a template, the entered information is inserted directly into the template code. This is the fastest and simplest way to customize the blocking page. Blocking page settings can be made by clicking the Magic Wand button. Using a template will overwrite the previous configuration.
Default blocking page localization: This option allows you to customize the default language of the blocking page. If a browser does not state its preferred language, the “default” language acts as a fallback mechanism. The default locale is marked with an asterisk (*) symbol next to the language type.
Deleting blocking page localization: A locale can be deleted by clicking the Trash icon.
Each version of the blocking page (Security, Blacklist, Legal, and Content) can be further customized by editing the HTML code. Clicking on each version reveals an editor that allows you to make any desired changes.
The editor also exposes a “Validation” interface, which analyzes the final HTML code and checks for allowed features. The check is based on the id of specific elements. More information and requirements for each feature can be found by clicking the respective labels.
Note
Each blocking page version has unique characteristics that can be selected. For example, the Security blocking page may include a Bypass Blocking button, which is not available in the Regulation and Blacklist page versions.
After editing and saving changes to the blocking pages, it is important that they are applied to the individual resolvers.
Tip
Blocking pages are displayed directly from the web server on the resolver. The pages are expected as a single file, so all other resources (CSS, images, scripts) must either be directly embedded into the HTML code or be available from a publicly accessible web server. The resolver does not provide any option to insert other content.
Signing Blocking Pages with a Certificate Authority
For deployments where you have control over the workstations, which is typically a corporate environment with Group Policy, you can insert a custom certificate authority (CA) used by the resolvers into their trusted CA stores. This causes browsers to go directly to the blocking page without displaying a certificate warning. The resolver essentially performs a man-in-the-middle attack every time it performs a redirect to the blocking page and provides its own certificate for the blocked domain.
Important
This functionality applies only to blocking pages hosted on local resolvers (On-premise). If you are using blocking pages hosted on Whalebone Cloud, this configuration is not applicable.
To create and configure a custom CA, follow these steps:
Create the /certs directory:
Create a dedicated directory for your certificates:
mkdir/certs
Configure the file v3_cfg file:
This file defines how the certificate is generated. Create the file v3_cfg in the /certs directory with the following content:
[req]x509_extensions=v3_ca_extensionsdistinguished_name=req_dn[v3_ca_extensions]basicConstraints=critical,CA:TRUEsubjectKeyIdentifier=hashauthorityKeyIdentifier=keyid:always,issuer:alwayskeyUsage=critical, digitalSignature, cRLSign, keyCertSignsubjectAltName=@alt_names[alt_names]DNS.1=localhost[req_dn]countryName=Country Name (2 letter code)countryName_default=USstateOrProvinceName=State or Province Name (full name)stateOrProvinceName_default=New YorklocalityName=Locality Name (eg, city)localityName_default=New York CityorganizationName=Organization Name (eg, company)organizationName_default=My OrganizationcommonName=Common Name (eg, your name or your server's hostname)commonName_max=64
Fields explanation and their possible values:
[req] and [v3_ca_extensions]
Do not change the values here
[alt_names]
Here you can list multiple resolvers.
While the naming is not functionally critical, we recommend using the actual hostnames (e.g., DNS.1 = WB1, DNS.2 = WB2).
[req_dn]
The first line (e.g., countryName) is for administrative identification.
The second line with _default (e.g., countryName_default) determines the data actually encoded into the certificate.
commonName is the name which represents the blocking page (eg, company name, resolver hostname or Whalebone Blocking Page).
Generate the CA key:
Execute the following command to generate the authority key:
Store the /certs directory in a secure location outside of the resolver (in case of the need for restoration).
Submit to Whalebone:
Send the path, filename and password of your .pfx file to Whalebone support (support@whalebone.io). Provide the .pfx password to our technicians using a secure tool such as OneTimeSecret. Our team will then complete the service setup.
CA propagation:
In the meantime, please add the public key of the Certificate Authority (/certs/ca.crt) to the list of trusted Certificate Authorities on all workstations under your administration. The new CA will propagate shortly after our support completes the setup.